How to Set Up Open Source e-Signature: Technical Guide
If you are searching for how to set up open source e-signature software, you are likely looking for a way to avoid expensive monthly subscriptions and regain control over your data. The appeal is obvious: a tool that you own, no recurring monthly fees, and total privacy. But before you spin up a VPS and start cloning repositories, it is important to understand that “free” software is rarely free in terms of time, security, and infrastructure.
Setting up an open source e-signature platform is a rewarding project for a developer, but for a business owner or a freelancer, it can quickly turn into a technical sinkhole. To help you decide if this is the right path for your business, we have outlined the exact technical requirements and the step-by-step process for deployment.
The Technical Stack: What You Need Before You Start
You cannot simply “install” an open source e-signature tool like you would a WordPress plugin. These are full-stack applications that require a coordinated environment to handle document generation, cryptographic hashing, and secure storage.
To understand how to set up open source e-signature tools, you first need to secure the following infrastructure:
- A Virtual Private Server (VPS): You need a Linux-based server (Ubuntu 22.04 LTS is the standard). While you can run this on a home server, a cloud provider like DigitalOcean or AWS is necessary for the public-facing SSL certificates and uptime required for legal documents.
- Docker and Docker Compose: Almost all modern open source e-signature projects are containerized. Docker allows you to run the application, the database, and the cache in isolated environments, preventing “dependency hell” on your host OS.
- PostgreSQL or MySQL: Your signatures aren’t just images; they are database entries linked to audit trails. You will need a robust relational database to store the document metadata and user permissions.
- Redis: To handle session management and fast caching of document previews, a Redis instance is usually required.
- An SMTP Relay: This is the part most people forget. Your server needs a way to send emails to signers. If you send them directly from your VPS IP, they will land in spam. You’ll need a service like SendGrid or Mailgun.
- Nginx and Certbot: To make your site accessible via HTTPS (which is non-negotiable for legal documents), you need a reverse proxy like Nginx and an SSL certificate from Let’s Encrypt.
Step-by-Step: How to Set Up Open Source e-Signature Software
While every project differs slightly, the deployment pattern for self-hosted signature tools follows a consistent logic.
Step 1: Server Hardening
Before installing the software, you must secure your server. This involves creating a non-root user with sudo privileges, configuring a UFW (Uncomplicated Firewall) to only allow ports 80, 443, and 22, and disabling password authentication in favor of SSH keys.
Step 2: Installing the Container Engine
You will install Docker and Docker Compose. This allows you to define your entire environment in a single .yml file. Instead of installing the database and the app separately, you run one command that pulls the official images and connects them.
Step 3: Configuring the Environment Variables
This is where most setup errors occur. You will need to edit a .env file to define:
- APP_URL: Your actual domain (e.g.,
signatures.yourbusiness.com). - DB_PASSWORD: A strong, unique password for your database.
- SMTP_SETTINGS: Your mail server credentials.
- SECRET_KEY: A long random string used for encrypting the audit trails.
Step 4: Launching the Containers
With a command like docker-compose up -d, the system will pull the images, create the database volumes, and start the web server. At this point, the application is running internally on the server.
Step 5: Configuring the Reverse Proxy
You then point Nginx to the Docker container’s port. Finally, you run Certbot to generate your SSL certificate. Only now is your “free” tool actually usable by a client over the internet.
The “Day Two” Problem: Maintenance and Risk
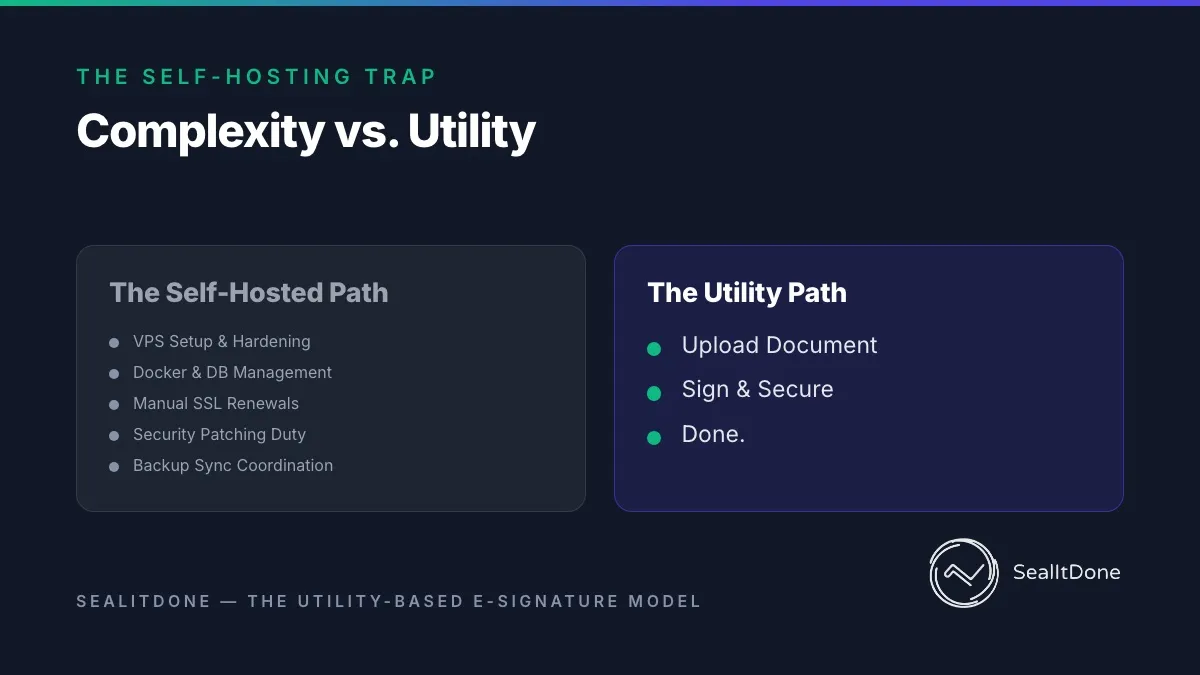
The guide above explains how to set up the software, but it doesn’t explain how to keep it running. This is where the hidden costs of self-hosting emerge. If you’re looking for a more affordable e-signature solution that doesn’t require server management, the overhead of self-hosting might not be worth it.
Security Patches and OS Updates
Unlike a managed service, you are the Chief Security Officer. When a vulnerability is found in the underlying Linux kernel or the Docker image, you must manually update and restart the service. If your server goes down while a client is trying to sign a contract, you lose professional credibility instantly.
The Audit Trail Liability
The primary value of an e-signature is the audit trail — the proof of who signed, when, and from which IP address. In a self-hosted environment, you are responsible for the integrity of these logs. If a contract is challenged in court and your database logs are corrupted or improperly backed up, the “free” tool becomes an expensive legal liability. You can read more about ensuring electronic signature compliance to see the standards required for a valid audit trail.
The Backup Loop
You cannot simply back up the website files. You need a synchronized backup of the database and the storage volume where the actual PDFs are kept. If these get out of sync, you end up with a database of signatures that point to files that no longer exist.
The Opportunity Cost Math: Time vs. Money
Let’s look at the actual math of “free” open source signatures for a small business owner or freelancer who sends approximately 10 documents a year.
| Expense Item | Self-Hosted (Annual) | Managed Pay-Per-Doc |
|---|---|---|
| Server Cost (VPS) | ~$120 - $200 | $0 |
| SMTP Relay Service | ~$0 - $100 | $0 |
| Setup Time (Initial) | 5-10 Hours | 0 Minutes |
| Maintenance Time | 2-4 Hours / Month | 0 Minutes |
| Legal/Audit Risk | High (User Managed) | Low (Provider Managed) |
| Total Cash Outlay | $120 - $300 | $29.90 (at $2.99/doc) |
When you factor in the hourly rate of a business owner, the “free” option is actually the most expensive. You aren’t just paying for software; you are paying for the peace of mind that your documents are legally compliant and your server isn’t leaking data.
A Simpler Path to Open Source Results
If you want the benefits of a lean, non-subscription model but you don’t want to spend your weekends debugging Docker containers and renewing SSL certificates, there is a better way.
You don’t need to be a sysadmin to get a document signed today. You can get the same result - legally binding, secure e-signatures - by using a utility-based model.
Instead of managing the infrastructure yourself, you can use a service that offers a one-time fee per document with no subscription and no prepaid bundles. This removes the technical overhead while keeping the cost transparent and predictable.
If the technical deep-dive above sounds like more work than you’re willing to take on, we’ve already done the hard part for you. We built a version that gives you the same results as an open source setup, without any of the setup.